Onboarding Hub - Step 9 Scan Tags [add later/phase 2]
Setup Your Scan Tags
This article explains how to configure Scan Tags and details their purpose.
Page URL:
How To
To begin, navigate to one of the above Page URLs which are located under either Configuration > Lists and Zones > Scan Types OR Configuration > Lists and Zones > Dictionary Lists.
Scan Tags setup via the Scan Types page
Scan Tags can be configured for a specific scan type as mandatory. When using that scan, the user must select and apply one of the associated scan tags:
This concept is useful for scenarios such as auto-assignments triggered by Linehaul Scans. A Linehaul scan with a tag can be applied to a consignment item, which then triggers an auto-assignment rule to allocate the scanned freight to the linked carrier or agent. More information on the setup can be found here: Auto Assignment
At their core, Scan Tags allow additional information to be attached to a scan. They can be used with assignment rules as described above and are also useful for tracking or internal communication purposes.
At their core, Scan Tags allow additional information to be attached to a scan. They can be used with assignment rules as described above and are also useful for tracking or internal communication purposes.
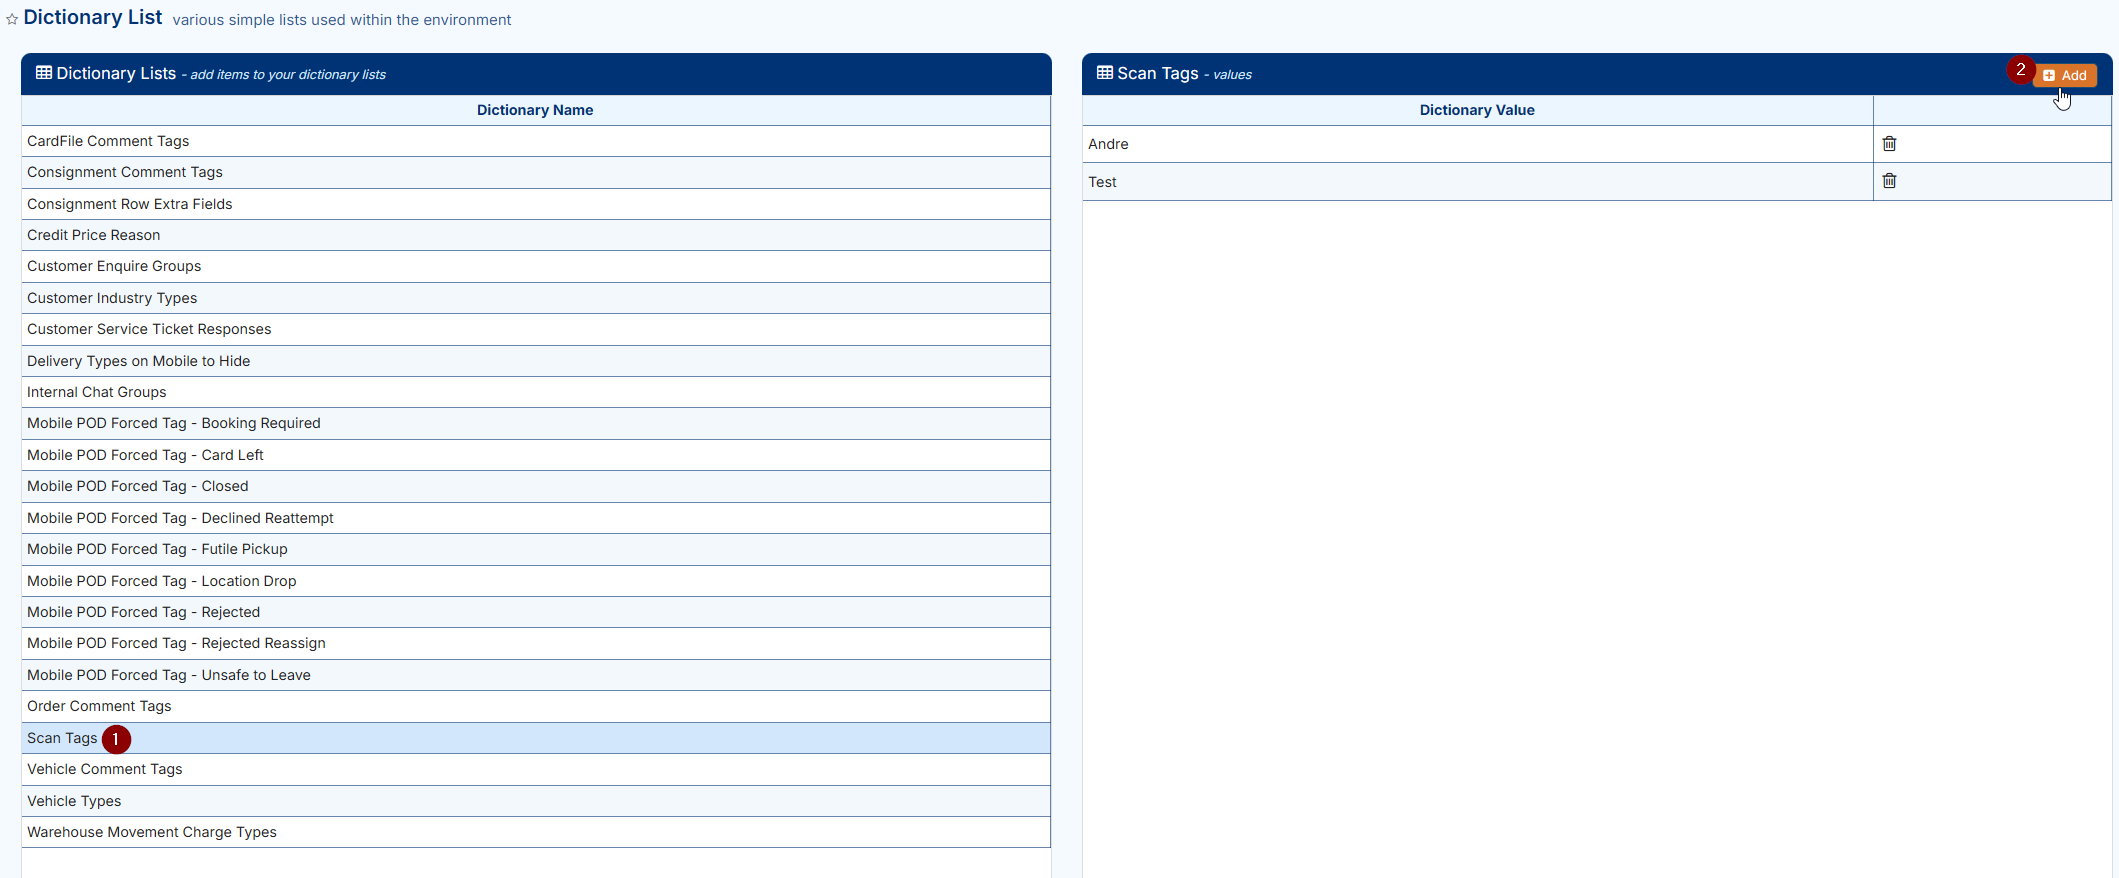
Scan Tags setup via the Dictionary List page
Scan tags can be setup as optional selections a user can make when performing a scan.
Simply click the scan tag option and then Add to create as needed:
FAQs
Q: What is the difference between setting up Scan Tags in the Scan Types page vs the Dictionary List?
Scan Tags configured on the Scan Types page are mandatory and must be applied when performing a scan that lists these tags.
Scan Tags configured in the Dictionary List are optional, and scans can be completed without selecting a Scan Tag.
Scan Tags configured in the Dictionary List are optional, and scans can be completed without selecting a Scan Tag.
Related Articles + Videos
Please see below links that provide more information on the content of this help article:
Related Articles
Onboarding Hub - Step 15 Driver Alerts [add later/phase 2]
Mobile Driver Alerts This article explains how to configure mobile alerts and their use in Transvirtual. Page URL: Mobile Alerts How To To begin, navigate to the above Page URL which is located under Configuration > General > Mobile Driver Alerts: ...Onboarding Hub - Step 10 Barcodes [add later/phase 2]
Barcode Formats This article will explain how to configure Barcode Formats and detail their purpose. Page URL: Barcode format rules How To To begin, navigate to the above Page URL which is located under Configuration > General > Barcode Formats: This ...Onboarding Hub - Step 16 Customer Notifications [to complicated for new users replacing with simple option - leave to phase 2]
Customer Tracking Notifications (email/sms) This article outlines the setup of three common export rules used to notify customers of delivery updates: a status export for On Delivery notifications, a status export for Delivered notifications, and a ...Onboarding Hub - Step 30 Customer Tracking Options
Tracking Consignment for Customers This article will explain how to configure tracking notifications for customers. Page URL: Export Consignment Status Updates Export PODs How To This is largely explained in the workflows listed here: Link Further ...Depot/Hub Processes
Depot/Hub Processes This article explains how to mark freight as arrived at the depot after a pickup or linehaul has been completed. Overview Using the mobile app, scan consignment items as they arrive at the depot to mark them as In Depot and update ...